Friday, October 28, 2011

It's Feature Friday! Archeologia


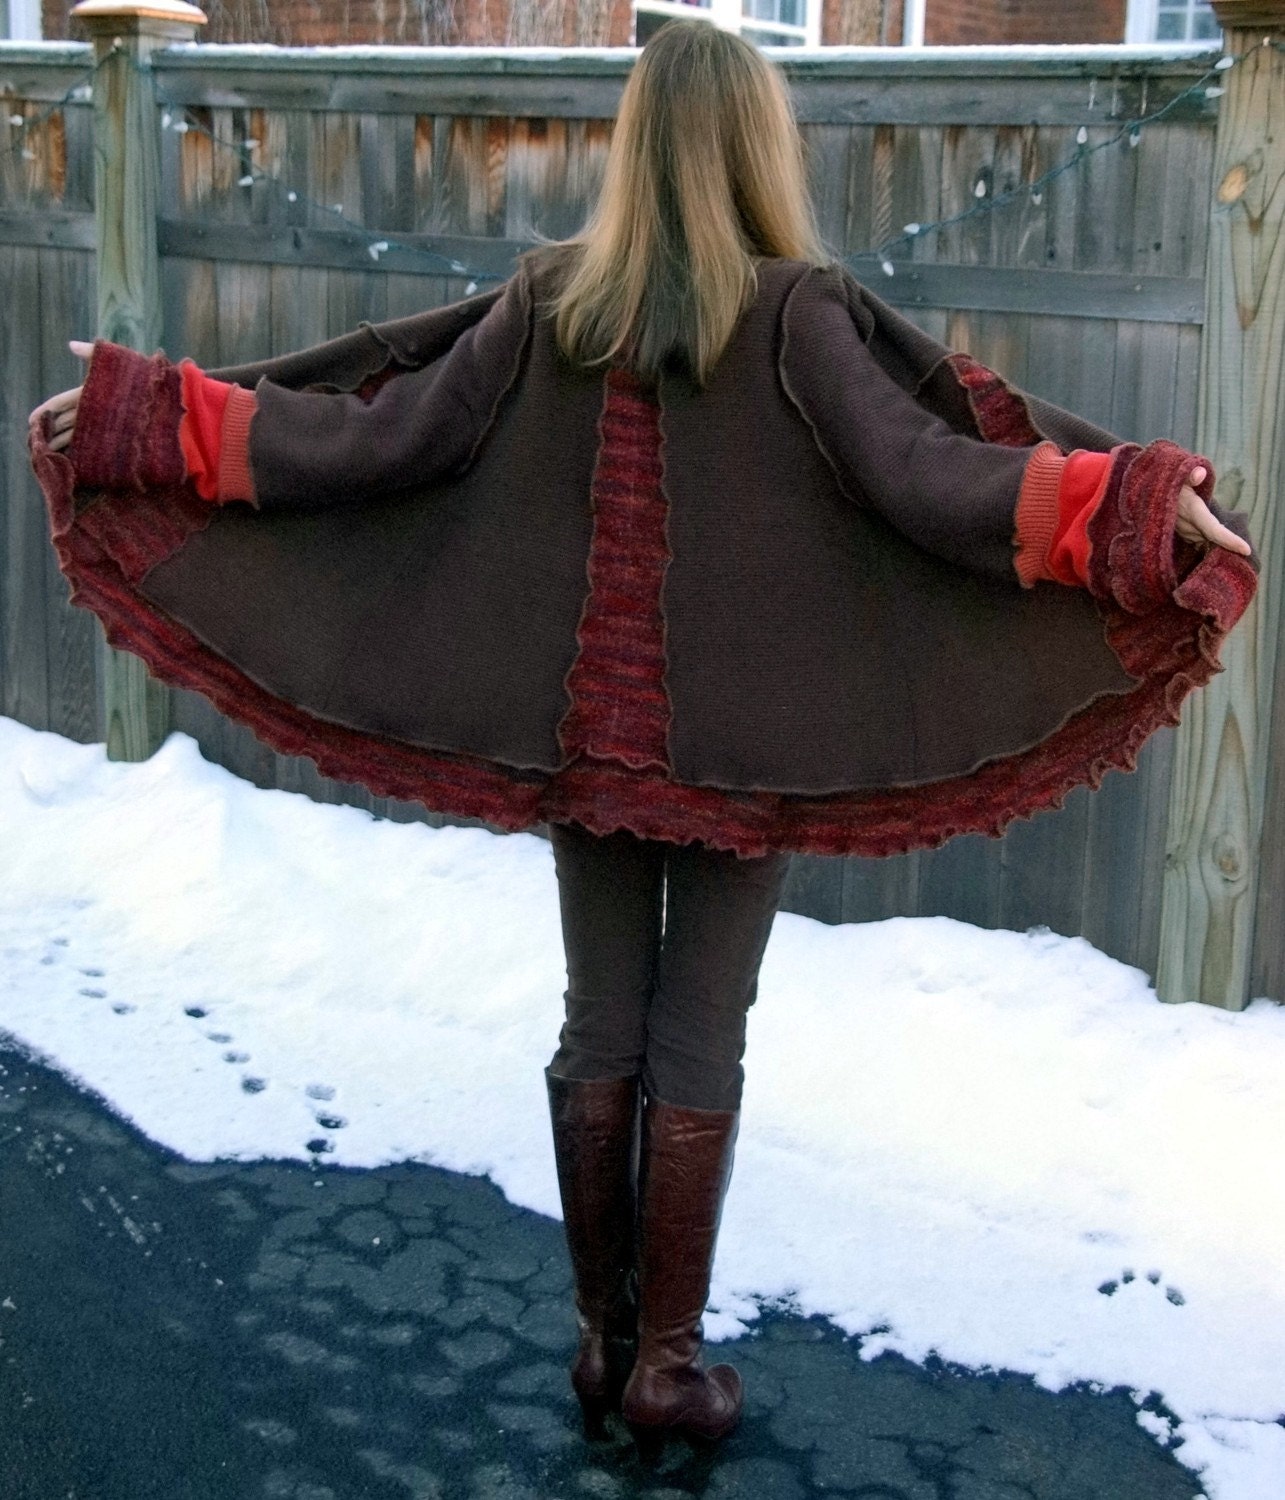
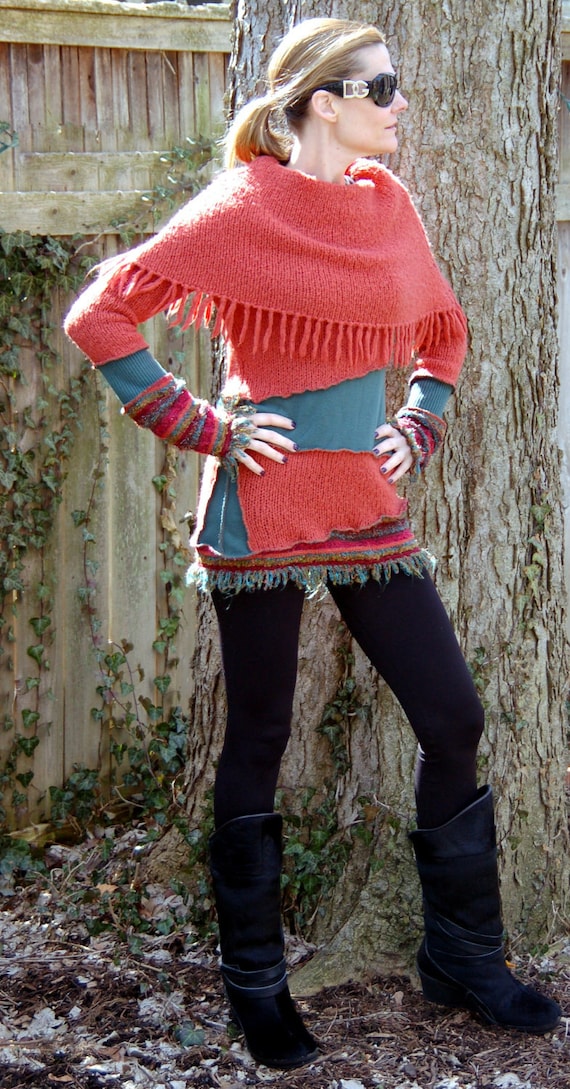
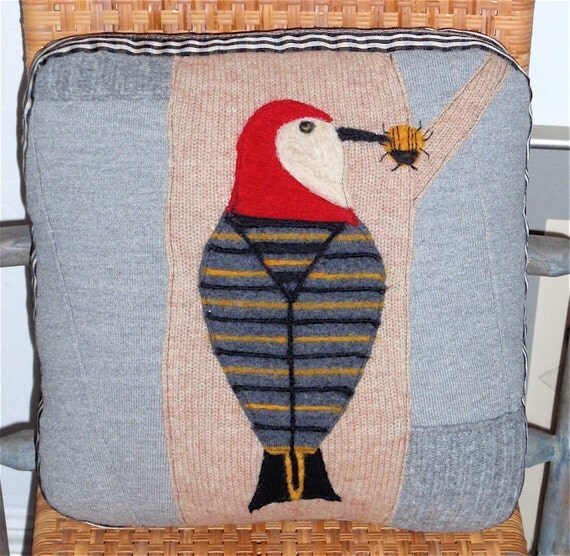
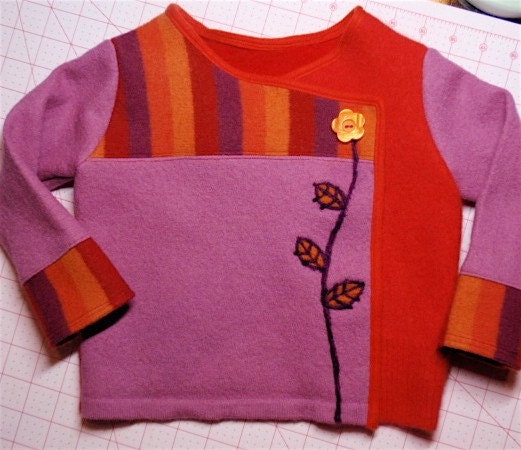
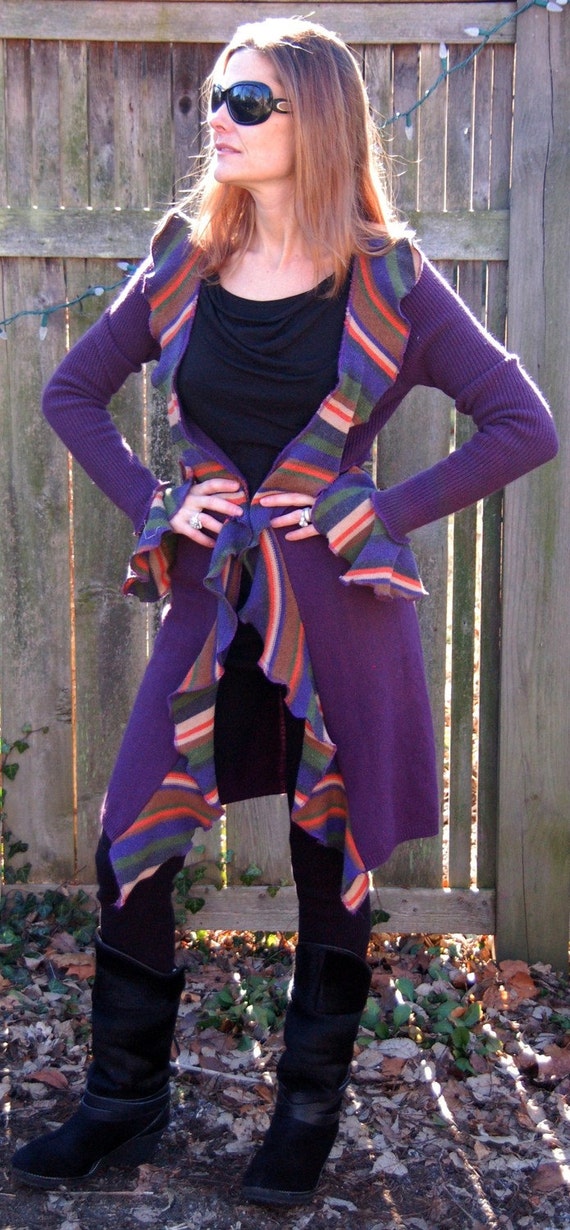
Now that the cold weather is here, it is time to wear sweaters! If your closet needs a new piece, you should definitely check out Amy's Etsy shop, Archeologia. Her sweaters, cowls, & coats are stunning!


Wednesday, October 26, 2011

It's What I've Been Working on Wednesday

I was really on a roll this week! I had a person at my last craft show say that she would love to see a sock monkey pillow, so I had to make one, since it was stuck in my head. I made a few dryer balls too, though some of these still need the last seam stitched up. I cleaned up my sewing table, and ran across one of my camper appliques, so I had to make another camper pillow (that's turquoise cashmere!).


I used the "sock monkey wool" on the back of the pillow, and I like the way that came out... the contrast.


I thought a sock monkey skirt would be cute too!


To work out my skirt sizing, I needed a tester/model for my "child" size skirt, so I made one for my friend's daughter (pics of her wearing it soon!). My friend was trying to work out how to make a poncho that day, so I abandoned my housecleaning (yay, an excuse!), and got to work on poncho-ing. I came up with this outfit for her.

Here's a close up of the owl, and the neck. I put the flowers on the neck to tie the 2 pieces together better, but also to cover up a moth hole on the neck. I made a matching hair clip too, since I was on a roll.


So... what have you been working on? Please feel free to post pictures of your latest recycled wool projects on my Facebook page!

Tuesday, October 25, 2011

It's Tutorial Tuesday! Make a fall wreath!


This tutorial comes from the Dandelion Ladies's blog. You may remember her from the awesome sweater bag tutorial. This wreath is a great way to utilize your scraps, and looks fabulous! Ready for the tutorial? Click here to be magically transported there!

Wednesday, October 19, 2011

It's What I've Been Working on Wednesday!


When I make something for the first time, I love it right away & am so proud of myself. Then the doubt starts to creep in. What if i'm the only one that likes it? Does it look weird? What was I thinking?! Well, that was the thought process with this skirt.


I instantly loved it, then the doubt crept in. I decided to wear it anyway, and went to a neighborhood garage sale that I stumbled upon. I got several unsolicited compliments from total strangers, and one wanted to know how she could order them from me! Now i'm ok with my skirt ;). In fact, i'll be making more for my upcoming craft show in December (more details on that later!). It reminds me of poodle skirt, but made with merino wool, and with a modern owly twist :).


What else would you like to see next on my skirts? Ooh... how about some sheep!

So, what have you been working on? As always, feel free to post your recycled wool projects on my Facebook page, and if you have a shop, make sure to leave your website link there too, so we can all ooh & ahh over your woolly goods!

I hope everyone is enjoying this fall as much as I have!

Tuesday, October 18, 2011

It's Tutorial Tuesday! extend jacket sleeves with cuffs & fingerless gloves!


It was 40 degrees this morning, so I started pulling out the winter outerwear. In with it was a wind jacket I bought at a yard sale this summer. When I tried it on & extended my arms, it looked like this:


That won't do! I really love the jacket, and didn't want to have to throw it in the donate pile just yet, so I decided to extent the arms. This is great for kid's jackets, to make them last another season, while making them a little more fun. I love that you never have to search for mittens at the last minute... they are built in!

Here comes the tutorial! This was a hard one to describe the steps, but hopefully the pictures will help clear up any confusion.

What you'll need is a jacket, and 2 long felted sweater cuffs that go well with the jacket.


First, turn your jacket inside out. Now place a cuff in a sleeve, so your cuff seam is against the sleeve. Line up the cuff seam with the jacket seam, so the seam of the cuff will be on the underside when you are wearing the jacket.


Now tuck in a little bit (about an inch) of the jacket sleeve inward.


Now start to sew the cuff to the jacket's inside lining. You will have to feel along as you go, so you aren't sewing through to the outside layer of the jacket as well. That way, there will be no seam on the outside of the jacket.


When you are done, it should look like this:


Repeat the process to the other sleeve, and flip everything right side out. Now figure out where your thumb should be, and cut a small slit there. Now you have built in fingerless gloves!


fold them back once, and you have extended cuffs. It kind of looks like you are wearing a sweater under it.

Friday, October 14, 2011

It's Feature Friday! Mimi Kirchner


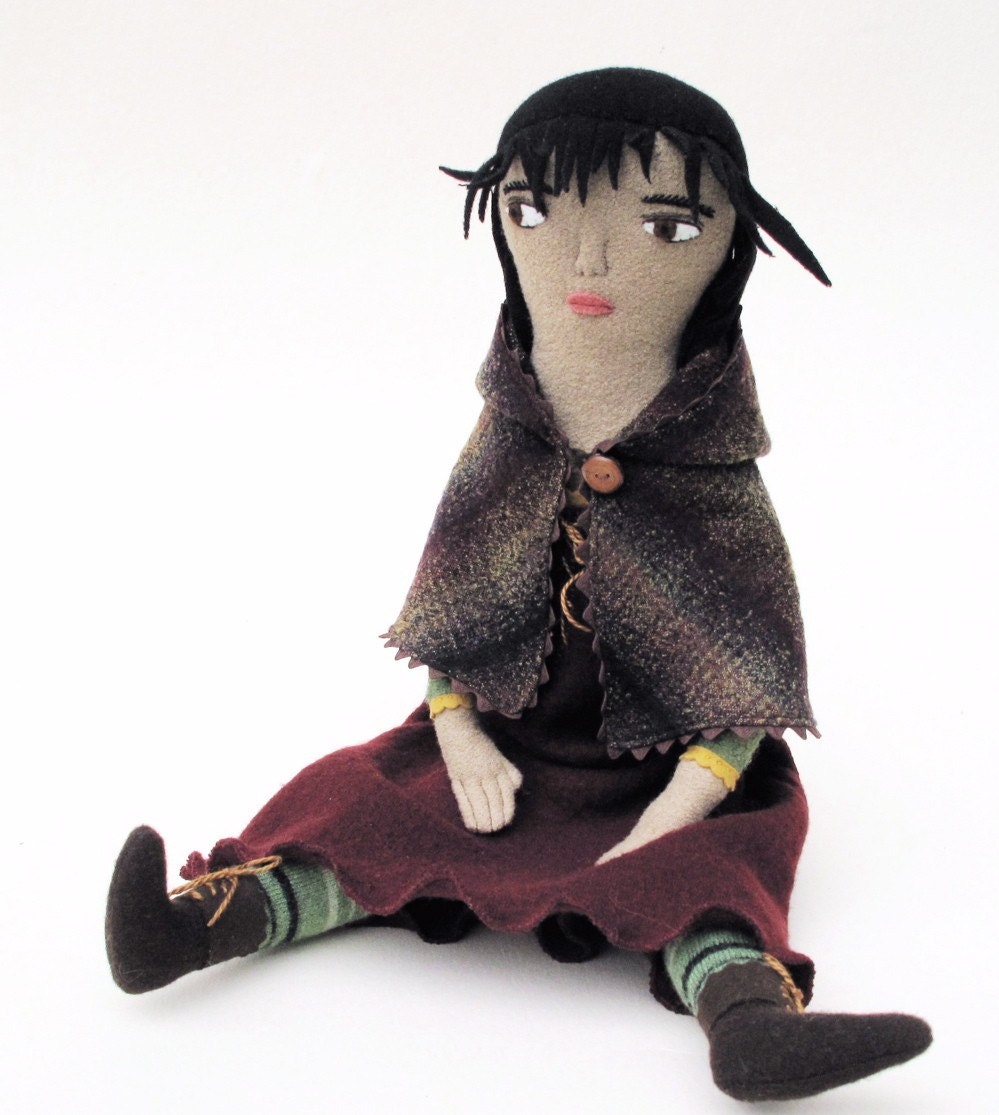
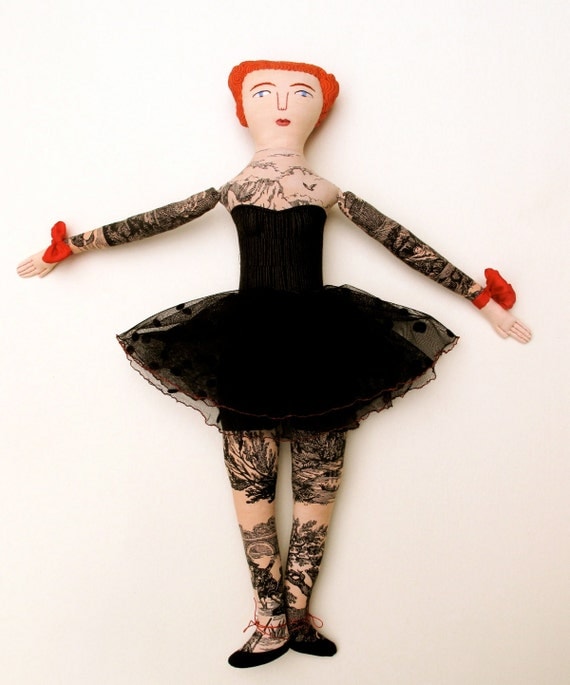
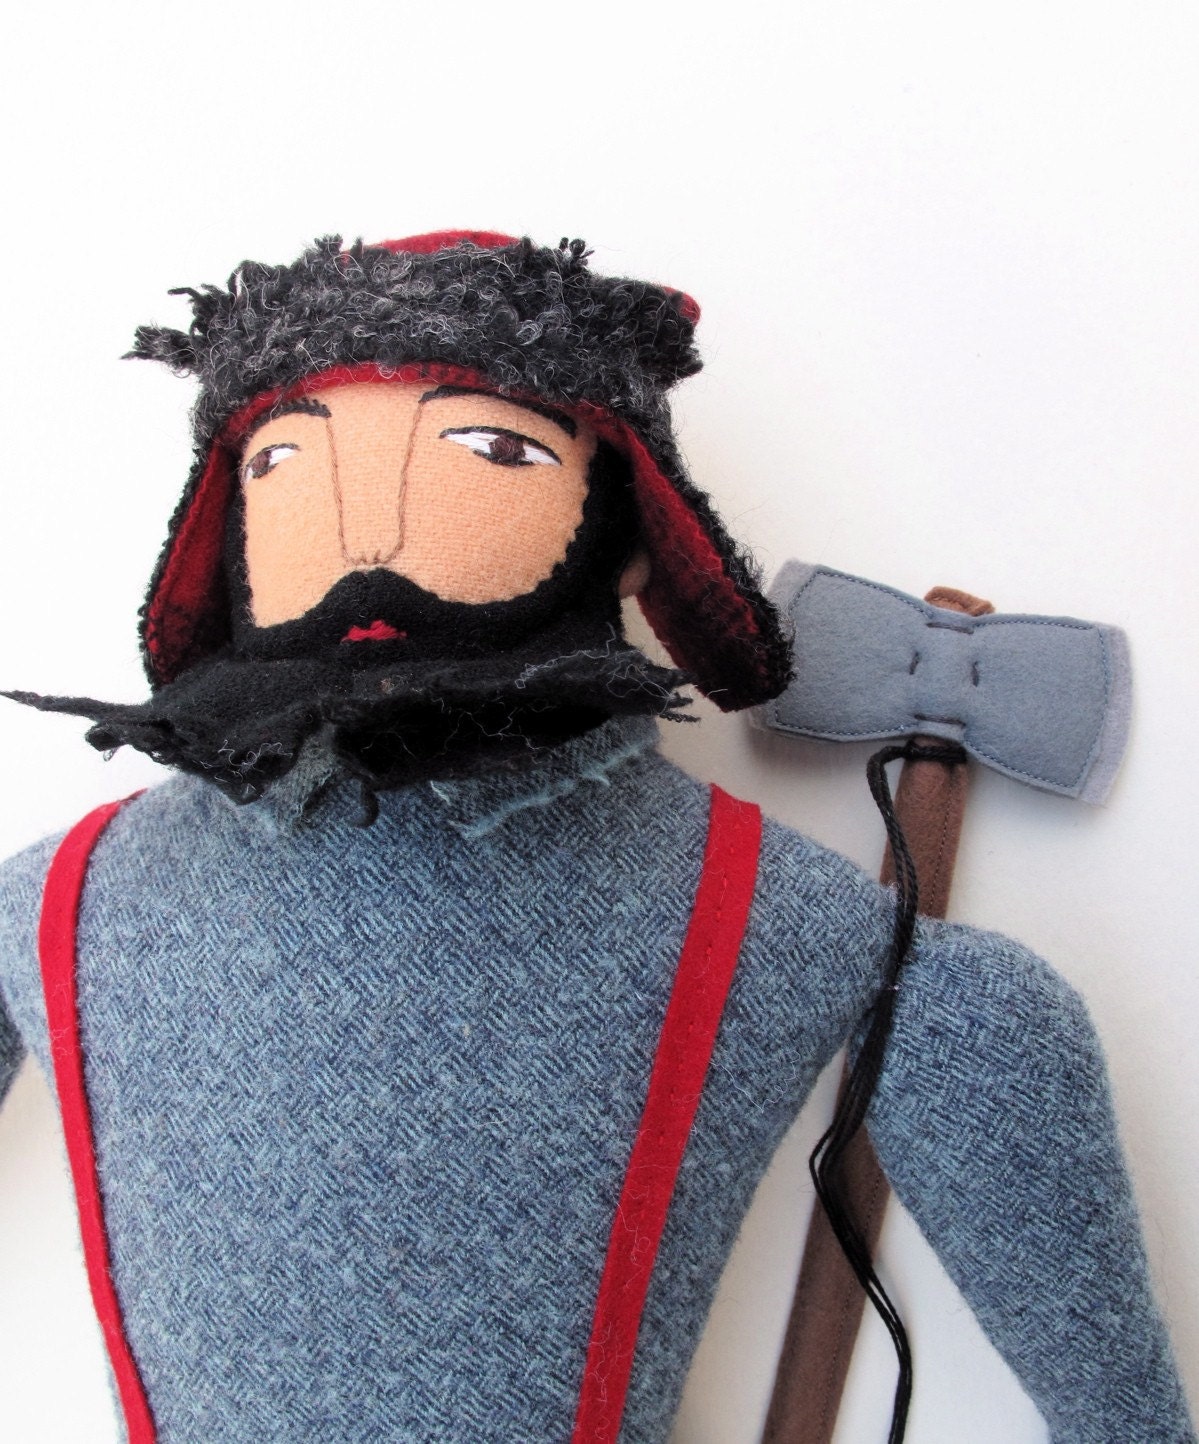
I featured Mimi Kirchner, and her fabulous recycled wool dolls, a couple of years ago, but it's time to revisit her! Not much has changed with her dolls... they are just as awe inspiring as ever!


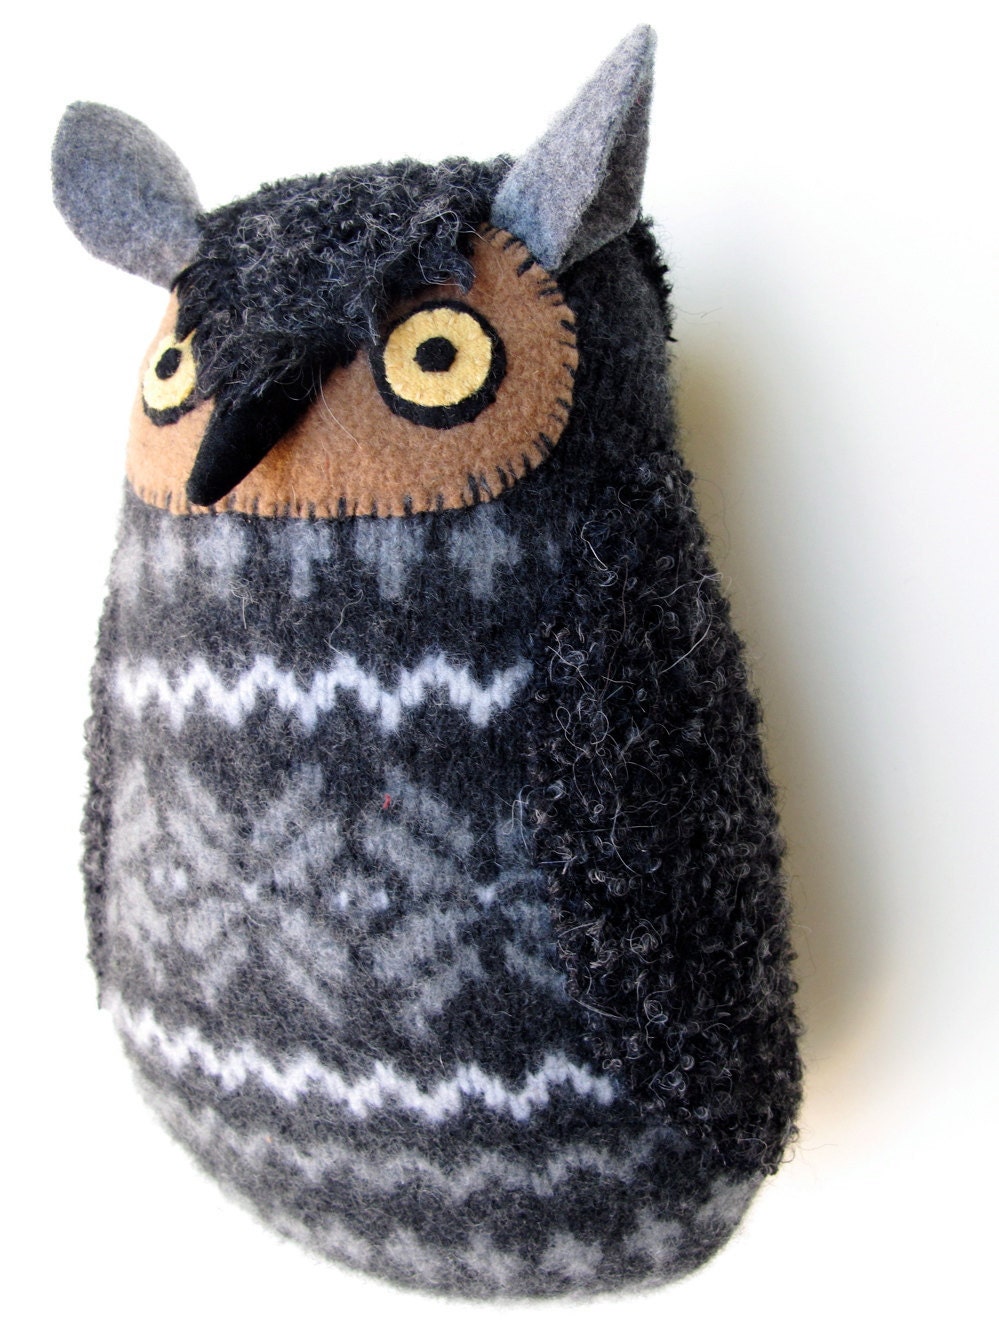
What has changed, is that she now sells patterns! Now you can make her adorable owls...

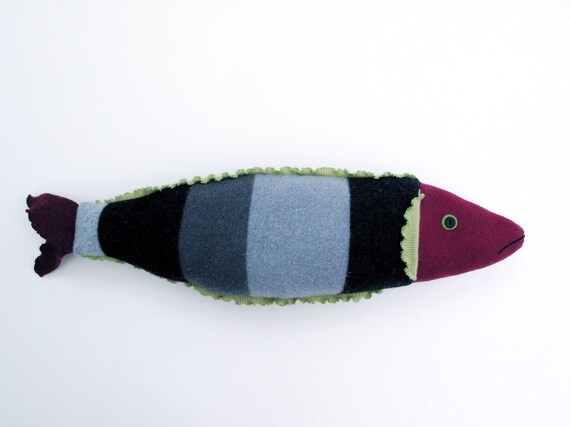
her fabulously fun fish...


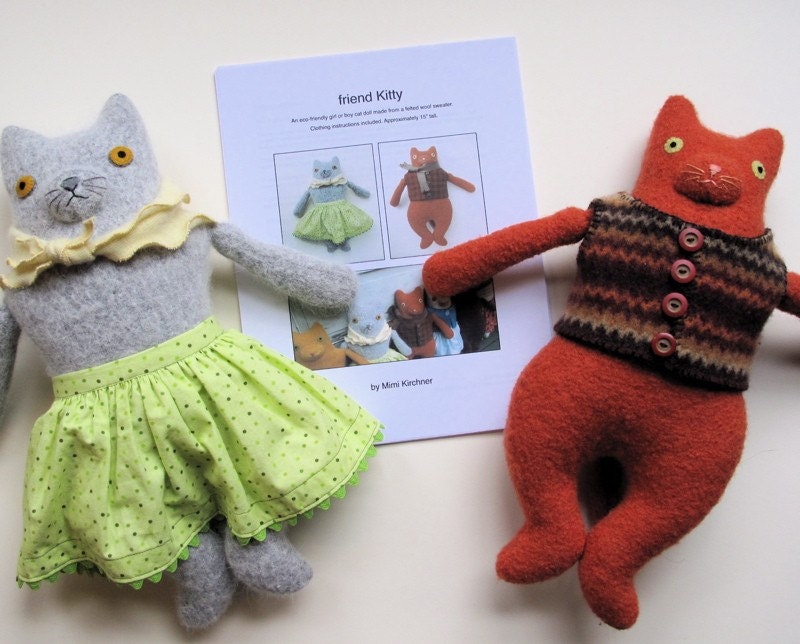
Her cute friend kitties...


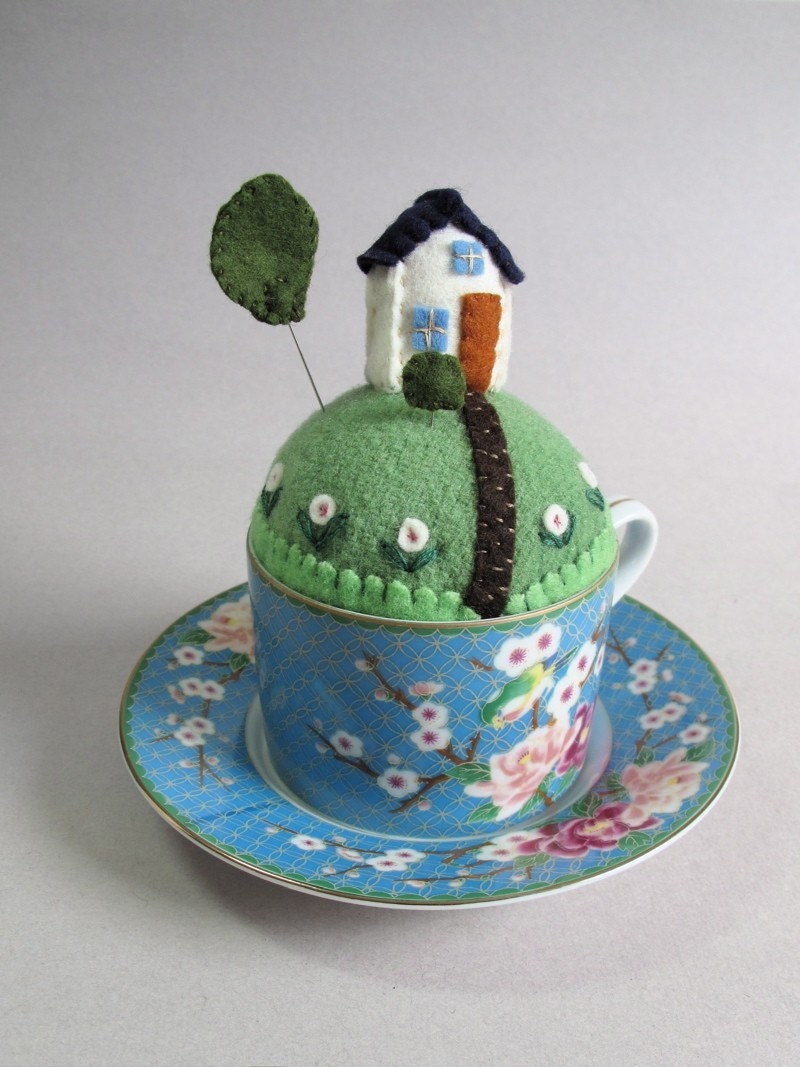
and my favorite, her tiny world pincushions!


To learn more about Mimi, make sure to check out her blog, and her Etsy shop!

Wednesday, October 12, 2011

It's What I've Been Working on Wednesday!


If you have a boy, you may recognize this guy, Ben 10. My son wants to be him for Halloween, so I finally got to make his costume! I just bought a green fleece jacket off of Ebay (the shade of green is a little off, but it'll do), and sewed on the stripes & the "10" patch. Luckily, I not only had some white wool on hand, but had it sitting out from the last project. A black t-shirt and a pair of jeans, and Jack will look just like Ben 10!


What have you been working on?

Friday, October 7, 2011

It's Feature Friday - Val's Art Studio


I had the absolute pleasure of stumbling across Val's Art Studio blog and shop the other week. She is amazing in her talent, and is so diverse in her work with recycled wool! From scrappy monsters, to needle felted pillows, to amazing clothes, Val is a true fiber artist! I can't wait to see what she comes up with next!


Wednesday, October 5, 2011

It's What I've Been Working on Wednesday!


While I was at the Fiber in The Park, I was approached by a fellow vender, Natasha from Esther's Place, and asked to do a custom pillow. She liked my sheep pillows, but they looked nothing like her sheep, Esther, and asked me to make one for her that looked more like Esther.

Here's Esther:


What do you think? Does it look like an Esther pillow?

If you love wool, and are local, or planning a visit to Illinois, I highly recommend stopping by Esther's Place. Here's some information from their website:

"Education
At Esther’s Place, our encouraging environment helps you take the first step towards fiber arts, and continue to enhance and enrich your skills and life. Classes and retreats in spinning, weaving, knitting and felting have a small group ambiance in our beautiful Victorian setting. Please click here to learn more and here

Products

Our exclusive Green Pastures Collection features wool from local Illinois flocks. Uniquely distinctive products include American-crafted spinning wheels, looms and needles, as well as wonderful yarns, rovings and gifts. Please click here to learn more

Community

Here is a place with the reminiscent serenity of a simpler time. It’s where you’ll meet others who share your passion and enthusiasm. It is a community in which to feel at home.
Welcome to Esther’s Place, A Fiber Arts Studio…for such a time as this."

Tuesday, October 4, 2011

It's Tutorial Tuesday! felt "paper" dolls and playsets


Today's "tutorial" is less of a how-to, and more of a concept. Felt dolls & playsets are great! They are fun to play with, take up little room, utilize scraps, can be made for a child, and can be made by a child. You can cut out a basic shape ...


and with a few embellishments have a little elfish girl ready to have a snowball fight! Had I cut out the boy shape, I could have used the same dress in another color as a super hero cape!


A simple gray rectangle with a few brown circles becomes a tray of cookies. Add some squares & rectangles to a basic house shape for windows & doors. A big black O becomes a race track, and simple shapes for anything can be found online, that you can trace by holding a piece of printer paper against your computer monitor. Basic patterns can be found everywhere. The doll pattern I used above was from some Martha Stewart doll templates here.
Cover a board with felt for a play board, and the felt pieces will "stick" to it. Have fun with it! If they are old enough, give your kids some scissors and your scraps, and let them use their imaginations! Make a play set for your kids for Christmas. Customize it for them... if they like dinosaurs, make felt dinosaurs. If they like butterflies, make felt butterflies. It will be cheap, from the heart, and your kids will love it!